
Step-by-Step Guide to the Video Creation Workflow

Creating a video might seem like a daunting task at first. But when you break it down, it’s a clear, manageable process. Whether you’re aiming to train your team, promote your organization, or share your story, understanding the video creation workflow is key. I’m here to walk you through each step, sharing practical tips and insights to help you produce professional-quality videos that truly connect with your audience.
Understanding the Video Creation Workflow
Before diving into the nuts and bolts, let’s clarify what the video creation workflow involves. Think of it as a roadmap that guides you from the initial idea to the final product. It’s a series of stages that ensure your video is well-planned, well-shot, and well-edited.
This workflow typically includes:
Pre-production: Planning and preparation
Production: Filming the video
Post-production: Editing and finalizing
Each phase has its own set of tasks and challenges. Mastering this workflow means you can avoid common pitfalls and deliver videos that meet your goals efficiently.

What are the five stages of video production?
To get even more specific, the video creation workflow can be broken down into five distinct stages:
Development
This is where your idea takes shape. You define the purpose of the video, identify your target audience, and brainstorm concepts. It’s also when you write the script or outline the key messages. For example, if you’re creating a training video for staff, you’ll want to focus on clear, instructional content.
Pre-Production
Here, you plan everything in detail. This includes storyboarding, scouting locations, casting talent if needed, and scheduling shoots. Budgeting and assembling your crew also happen at this stage. Think of it as setting the stage for a smooth shoot.
Production
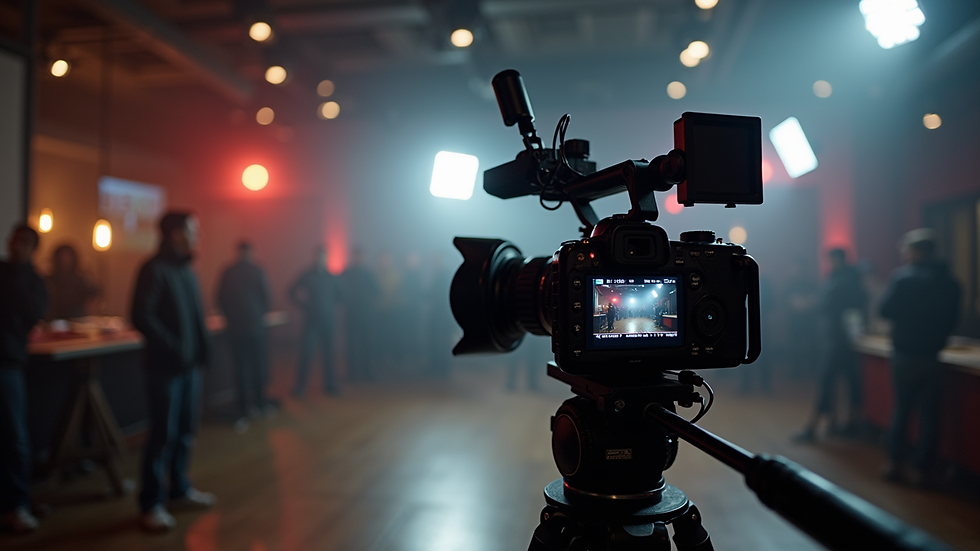
This is the action phase. Cameras roll, lights shine, and your vision starts to come alive. It’s crucial to stick to your plan but also stay flexible. Sometimes, unexpected opportunities or challenges arise on set.
Post-Production
After filming, the footage moves to editing. This stage involves cutting clips, adding music, sound effects, graphics, and colour correction. It’s where your video really takes shape and gains polish.
Distribution
Finally, you share your video with the world. Whether it’s uploading to a website, sharing on social media, or using it in presentations, distribution ensures your message reaches the right people.
Breaking the process into these stages helps keep your project organized and on track.
Planning Your Video: The Foundation of Success
I can’t stress enough how important the planning phase is. Skipping or rushing this step often leads to headaches later on. Start by asking yourself some key questions:
What is the goal of this video?
Who is the audience?
What message do I want to convey?
What style or tone fits best?
Once you have clear answers, write a script or at least a detailed outline. This will guide your shoot and keep everyone aligned.
Next, create a storyboard. It doesn’t have to be fancy—simple sketches or even a shot list will do. This visual plan helps you anticipate what shots you need and how the story flows.
Don’t forget logistics. Book your locations, arrange equipment, and confirm your team. If you’re working with talent, schedule rehearsals or briefings.
By investing time here, you save time and money during production and post-production.

Shooting the Video: Bringing Your Vision to Life
When it’s time to shoot, preparation pays off. Arrive early to set up equipment and test lighting and sound. Good lighting is crucial—it can make or break your footage. Natural light works well, but sometimes you’ll need additional lights to avoid shadows or dullness.
Keep your shots steady. Use tripods or stabilizers to avoid shaky footage. Frame your shots thoughtfully—consider the rule of thirds and leave space for movement.
Direct your talent clearly and kindly. Encourage natural performances but be ready to do multiple takes if needed.
Remember, capturing good audio is just as important as video. Use external microphones when possible and monitor sound levels throughout.
Don’t forget to shoot extra footage, or B-roll. These supplementary shots add depth and flexibility during editing.
Editing and Final Touches: Crafting the Story
Editing is where your video really comes together. Start by organizing your footage and selecting the best takes. Use editing software to trim clips, arrange scenes, and add transitions.
Pay attention to pacing. A well-paced video keeps viewers engaged. Mix longer shots with quick cuts to maintain interest.
Add music and sound effects to enhance mood and clarity. Make sure audio levels are balanced so dialogue is clear.
Colour correction can improve the look of your video, making it more vibrant or consistent.
Finally, add titles, captions, or graphics if needed. These elements can reinforce your message and make your video more accessible.
Before finalizing, review your video multiple times. Get feedback from others to catch any issues you might have missed.
Sharing Your Video: Maximizing Impact
Once your video is polished and ready, it’s time to share it. Think about where your audience spends their time. Is it on social media platforms, your website, or during live presentations?
Optimize your video for each platform. For example, shorter videos work better on social media, while longer, detailed content suits training portals.
Use clear, compelling descriptions and titles to attract viewers. Don’t forget to include calls to action if you want viewers to take the next step.
Track how your video performs. Analytics can tell you what’s working and what might need tweaking for future projects.
By following this step-by-step guide, you can confidently navigate the video production process and create content that truly resonates.
Taking Your Video Projects to the Next Level
Mastering the video creation workflow is a game-changer for any organization. It helps you communicate more effectively, train your teams better, and grow your reach with professional, reliable video content.
If you keep these steps in mind and approach each project with care and creativity, you’ll see the difference in your results. Remember, every great video starts with a solid plan and ends with thoughtful sharing.
Ready to bring your next video idea to life? The process is clear, and the possibilities are endless. Let’s get started!


Comments